Desktop PC cloning bundle for SSD

Everything you need to add an SSD to your desktop computer.
What you need to check: Does your desktop case have a spare 3.5 inch bay? Most do, unless you have an ultra slim case.
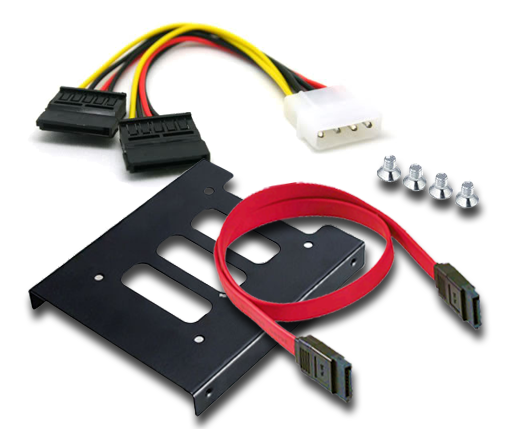
The bracket is to convert the 2.5 inch SSD to the 3.5 inch space.
Red cable is the SATA cable to connect into your second SATA port on your motherboard, other end into the SSD.
The power cable you probably will not need, but we include it just in case. Most desktops have a spare or split power cable you can use.
We include 8 screws (the image only shows 4). Four screws to mount the bracket in your case and 4 screws to mount the SSD into the bracket.
What is not shown is the Acronis cloning software. We include a download certificate for Acronis True Image home edition. Once registered, it is a fully functional version for the purpose of cloning your old hard drive.
This is a quick outline of the process. Secure SSD onto bracket. Secure bracket on 3.5 inch bay space in your case. (your computer should be turned off and current back ups complete). Plug in SATA and power cables. Reboot computer. Follow instructions on Acronis certificate to download, install and register Acronis software. Open Acronis. Follow cloning procedure. When Acronis starts the clone, it will initialise and format the new SSD. Once clone is complete, shut down computer. Unplug the SATA cable of the original drive, leave it unplugged. Plug the SSD SATA cable into the first SATA port and reboot computer. It is important to restart the computer and not have the original drive attached. This is to make sure the SSD is cloned and that Windows knows the new primary drive is the SSD.
We are a registered New Zealand company (Upgradeable Limited), all orders include 15% GST. You are protected by local consumer law when you buy here. All product ships from our Australian warehouse until we can set up local distribution.